Materials
1. Arduino controller - UNO / Nano / Pro Mini 3.3V/5V
2. 3-LEDs (Different color)
3. 1-Resistor 1 kOhm. 1/4 watt.
4. 1-Resistor 100 Ohm. 1/4 watt.
5. 1-Diode 1N4001
6. 1- Potentiometer B10K
7. 1-Push button
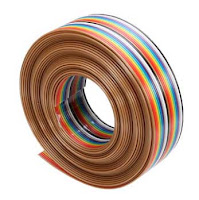
8. Dupont cable.
9. Battery 5-9 V.
10. PCB - DIY circuit board or prototype bread board.
11. Pin header.

Tools
1. Soldering gun.
2. Soldering wire.
3. Soldering paste.
4. Screw driver.
5. Plier.
6.Hot glue gun.
7.Screw , Bolt & Nut.
Electronic hardware installation & Wiring
Arduino Pro Mini pins No. wiring
2 - Manual mode LED
4 - Nutral mode LED
6 - Auto mode LED
9 - Toggle push button input
10 - output signal to servo
A0 - input signal from potentiometer
Connect all parts together as pictures.Use soldering equipments and fix parts in place by hot glue gun.
The diode 1N4001 will protect Mini controller in case of servo short circuit or wrong pin header connection.
Software installation
Arduino sketch :
1.Down load code sketch from Github.
2.Comply and upload to Arduino mini controller.
3.Open Arduino software serial monitor to see output.
Test all function, if hardware wrong installed or wiring mistake.Check and correct them.
The sketch have test on simulation and pass real running.Most of problems have been fixed.


ไม่มีความคิดเห็น:
แสดงความคิดเห็น